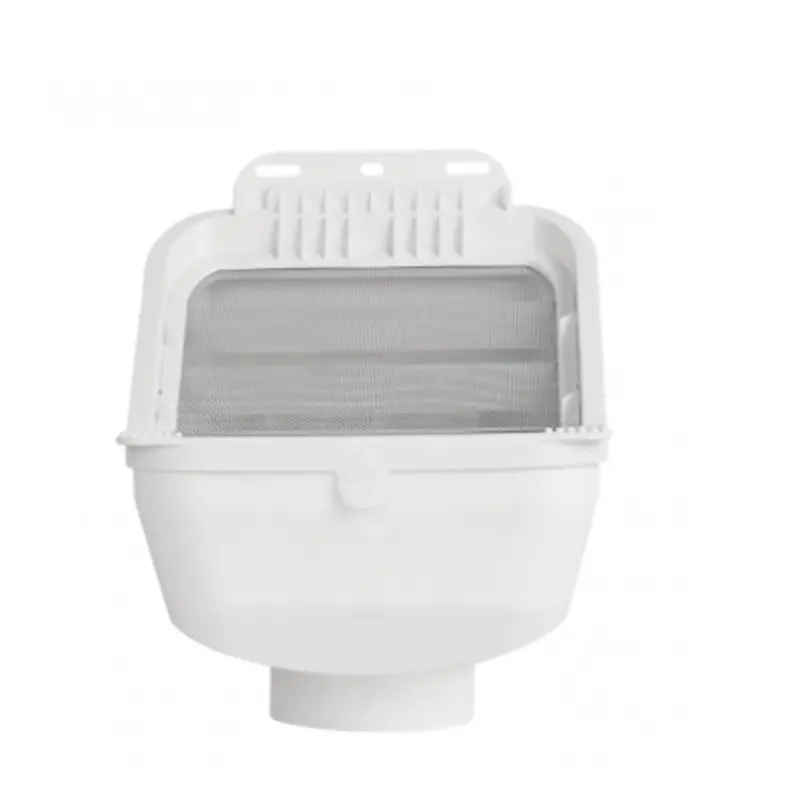
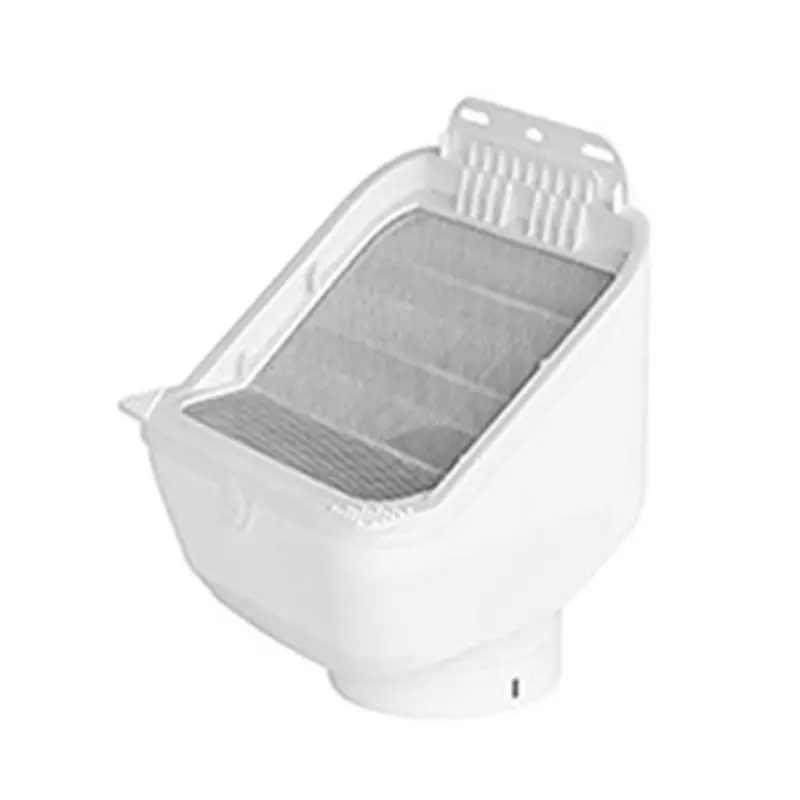
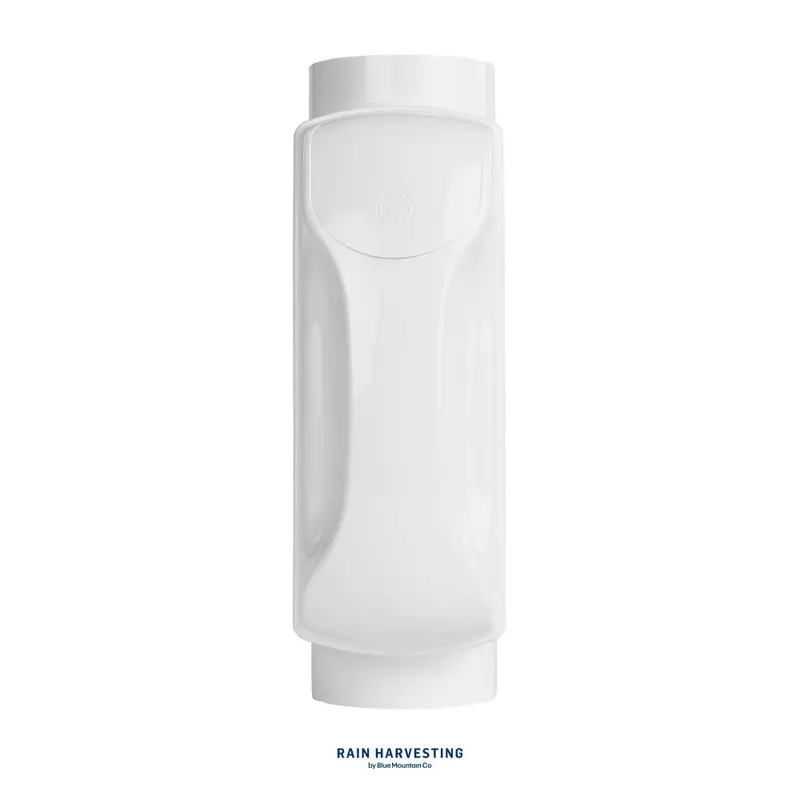
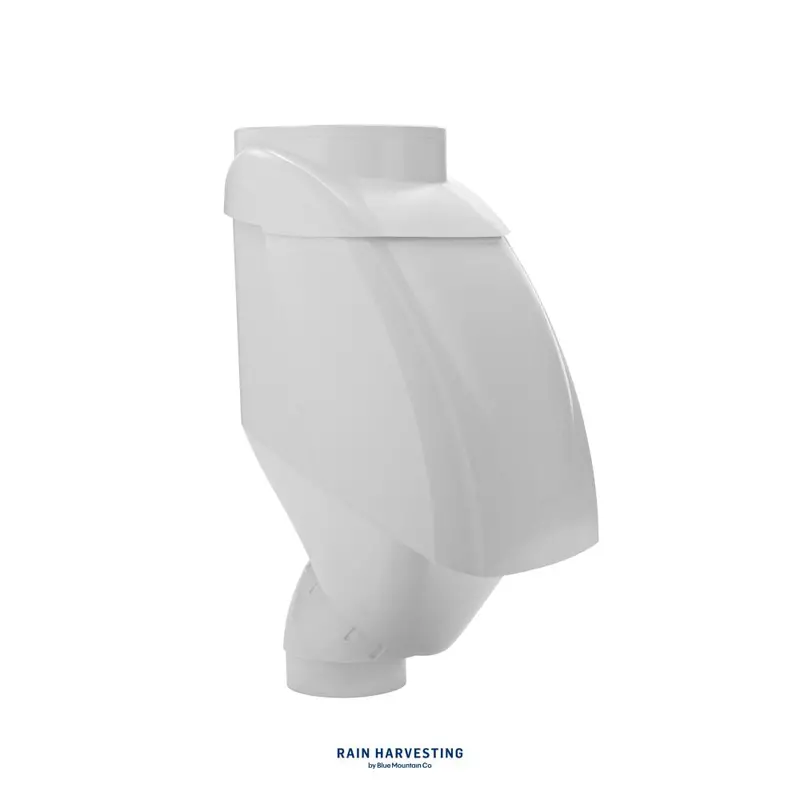
Description
The Rain Harvesting Pty Leaf Eater Advanced is now available with an adaptable 3″ or 4″ adapter for downspouts & round PVC. Keeps your Rain Harvesting system free of mosquitoes, vermin, and debris.
Features:
- Compact, versatile rain head for quick and easy installation
- New design now includes adapters for BOTH a 3″ and a 4″ outlet
- Patented single screen technology for advanced debris shedding (Clean Shield™)
- Minimal maintenance
- Pivot the outlet to suit vertical or horizontal (rear outlet) downpipes – a variety of installation options in one product (VH Pivot™ patent pending)
- High flow rate performance
- Superior catchment efficiency at low and high flow rates
- Single screen with 0.955mm aperture mosquito proof stainless steel mesh.
- The Leaf Eater AdvancedTM can also be used as a debris removing device even when rainwater is not being collected.
Installation
Gutter & Mid-Mount Installation
1. Gutter: Measure 208mm from the bottom of the existing gutter pop and remove this section of the downpipe. Ensure the cut edge is clean and smooth. Mid-Mount: Remove 208mm of downpipe where the Leaf Eater Advanced™ is to be situated. Ensure all cut edges are clean and smooth.
2. Using the quick-release tabs remove the Cleanshield screen by lifting it up and then out.
3. Insert the Leaf Eater Advanced™ by sliding it up over the cut section and then down into position. The Leaf Eater Advanced™ outlet should be slid firmly onto the bottom downpipe until it can be pushed no further.
4. Screw the Leaf Eater Advanced™ into position through the screw slots provided. Ensure appropriate screws and anchors (if required) are used.
5. Insert the Cleanshield screen into the Leaf Eater Advanced™. Ensure the Cleanshield screen is sitting firmly in place and check installation is secure.
Horizontal (Rear Outlet) Installation
1. Using the quick-release tabs remove the Cleanshield screen by lifting it up and then out.
2. Swivel the outlet to the horizontal position – some force may be required.
3. Position the Leaf Eater Advanced™ next to existing pipework, mark and cut top and bottom cut lines… Ensure that the cut edge is clean and smooth.
4. Insert the Leaf Eater Advanced™ by sliding the rear outlet into the horizontal pipe. The back fixing plate must sit behind the top section of the downpipe.
5. Screw the Leaf Eater Advanced™ into position through the screw slots provided. Ensure appropriate screws and anchors (if required) are used.
6. Insert the Cleanshield screen into the Leaf Eater Advanced™. Ensure the Cleanshield screen is sitting firmly in place and check the installation is secure.
.catalog a{ text-decoration: none; color: #24a7bd; transition: ease, 0.3s; cursor: pointer; } .catalog a:hover{ color: #2276c5; } .catalog h3{ text-align: left; text-transform: uppercase; font-size: 16px; font-weight: 900; font-family: Jost, sans-serif; letter-spacing: 0.1em; padding: 40px 0px 20px; color: rgb(80, 81, 79); border-bottom: 1px solid rgb(225, 225, 225); margin-top: 20px; margin-bottom: 20px; cursor: default; }
Explore more from our collection.
Reviews
There are no reviews yet.